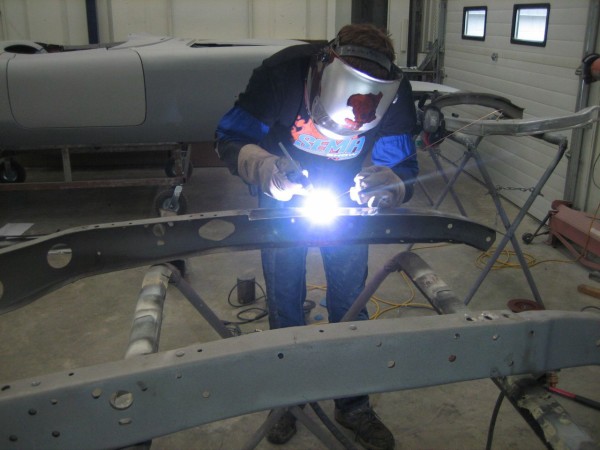
Well I haven’t posted any updates on the progress of the 34 Roadster because I’ve been assembling the required parts to repair the rear damaged floor. I must admit that it was quite a wait for Paul Bradley to build and ship me the floor pans that I bought some time ago but it was worth the wait because they actually fit together rather nicely.
Then came the wait in line for the body work, which is finally in progress! Stay tuned detailed photo’s will be following continually over the next few months.
I now have all the required parts to completely reassemble the old girl and it will be back together and on the road this summer.
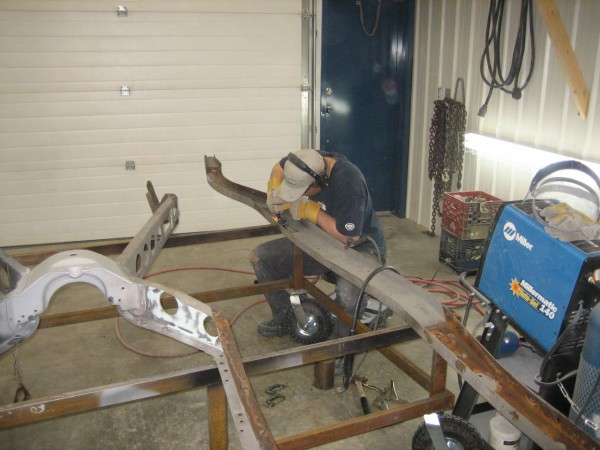
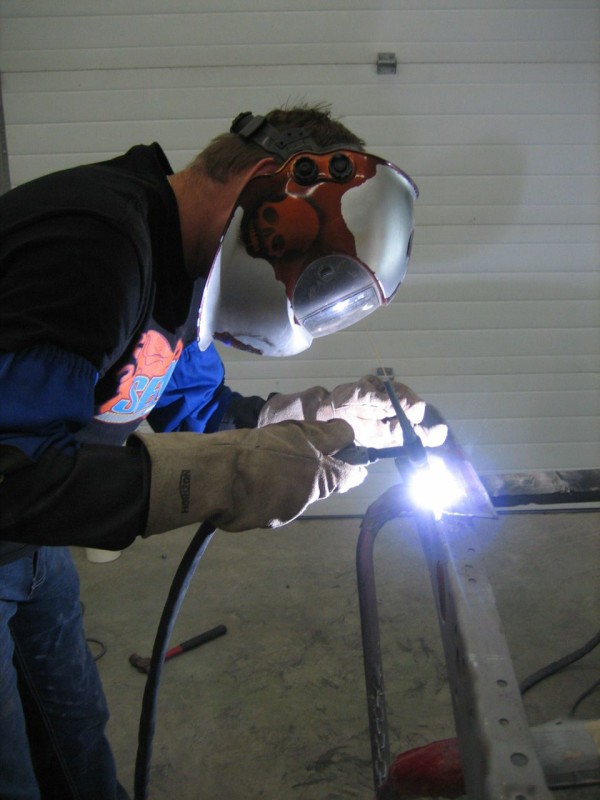
I remember when we started this build Byron Valcourt, owner of Alternative Restorations said to me Steve it all starts with the frame so no skimping here, this is the skeleton of the car on which we place the body and if the frame is bent, twisted, warped, weakened or general misalignment the total restoration would be flawed. So I agreed wholeheartedly with Byron, and he and his team disassembled the 34 frame and completely rebuilt it and I’m glad that we did because there were quite a few problems that had accumulated in my frame over its past 79 years.
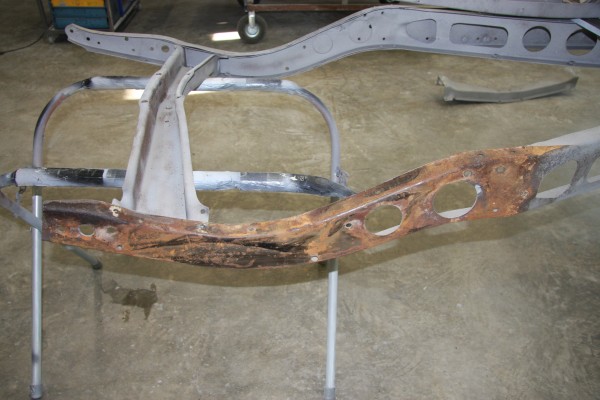
So to recap on the progress to date, the frame was stripped to bare metal for a detailed inspection we found pitting in various areas on the frame that was repaired, previous collision damage on the drivers side front frame horn that was also poorly repaired but is now re-fabricated and as good as new, the rear frame cross member was bent due to the accident then replaced, one of the front radiator supports was badly pitted so it was removed from the front frame cross member and re-riveted with an NOS one. We also check all the rivets and any welds for structural integrity, replacing questionable rivets.

Dis-assembly of the frame and repaired the pitted areas of the frame.

They actually removed both outside frame rails and you can see old remnants of the factory paint that was trapped between the outside frame rail and inner frame. That is also the original rear frame cross member and if you look closely you can see that it is slightly bent and it was bent enough in the accident to dent the front of the gas tank inwards.
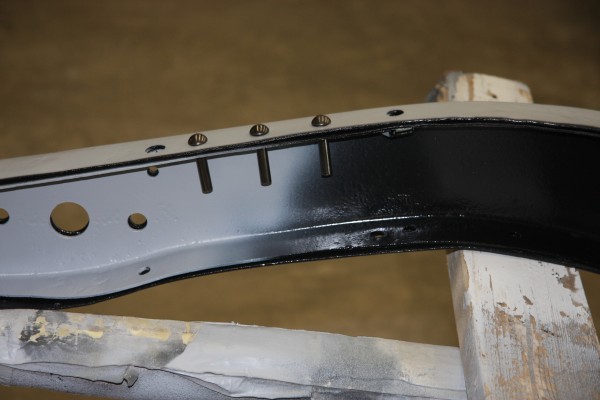
Here the outside frame rail is removed from the frame and again you can see some very mild corrosion which was removed by sand blasting. This photo again shows the frame components were not painted separately and then assembled but the frame was painted as one complete assembly.
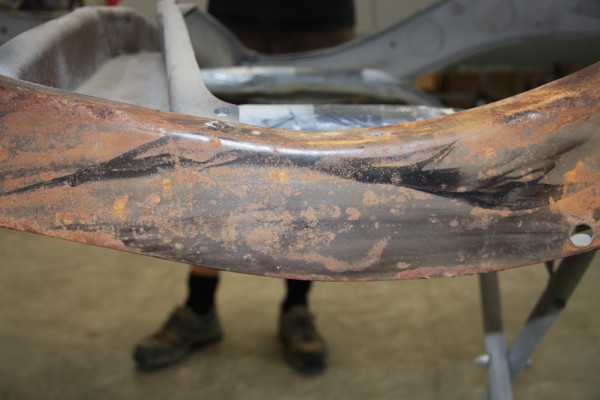
This is an interesting photograph for when the outside frame rails were removed this is the remnants of the factory paint. It also suggests the complete frame assembly was dipped in paint and then hung on end to dry, as you can see this is the paint that flowed between the outside frame rail and inner frame.
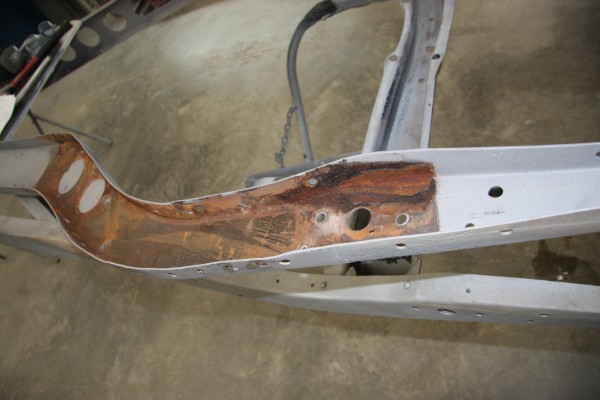
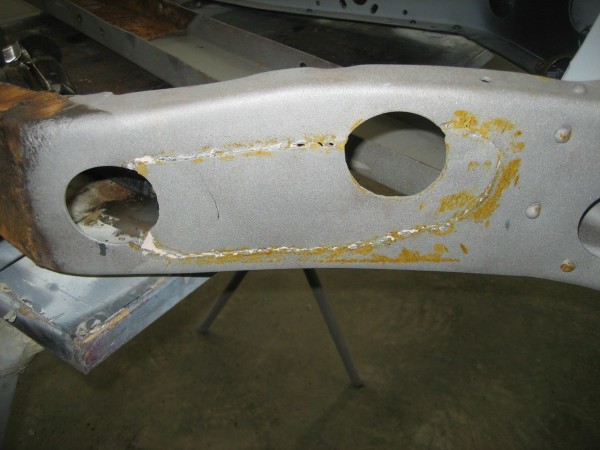
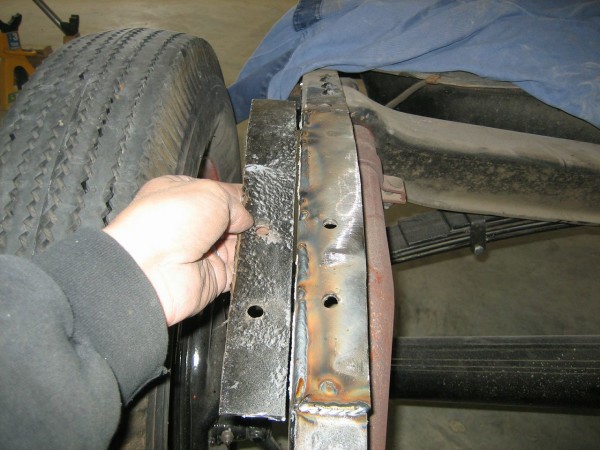
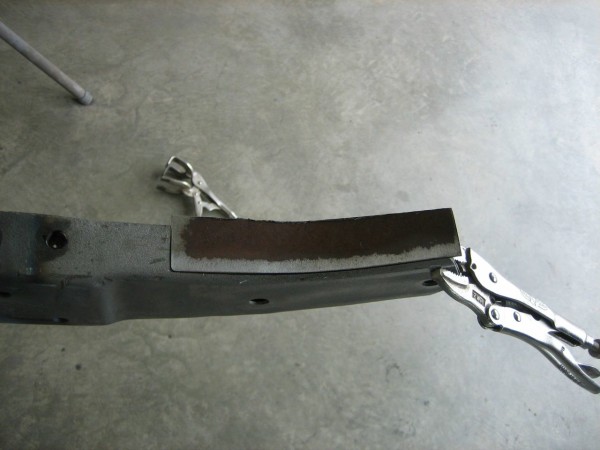
There was some heavy corrosion between the outside frame rail and inner frame this was cut out and replaced with new metal. Although difficult to see in this photograph the metal was quite thin and heavily pitted and the front frame horn had been poorly repair from previous collision damage. The frame in this photo is upside down and if you look down the frame to the grimy greasy black area this is actually oil that had leaked from the steering box in between the inside frame and outside frame rail.
Here is another photo of the removed outside drivers side frame rail and again if you look closely at the top of the photo you can see the grimy greasy black area where the oil from the steering box had leaked between the frame rails. Also the areas on the top and bottom of the outside frame rail that looks a little bent up and wavy was replaced.
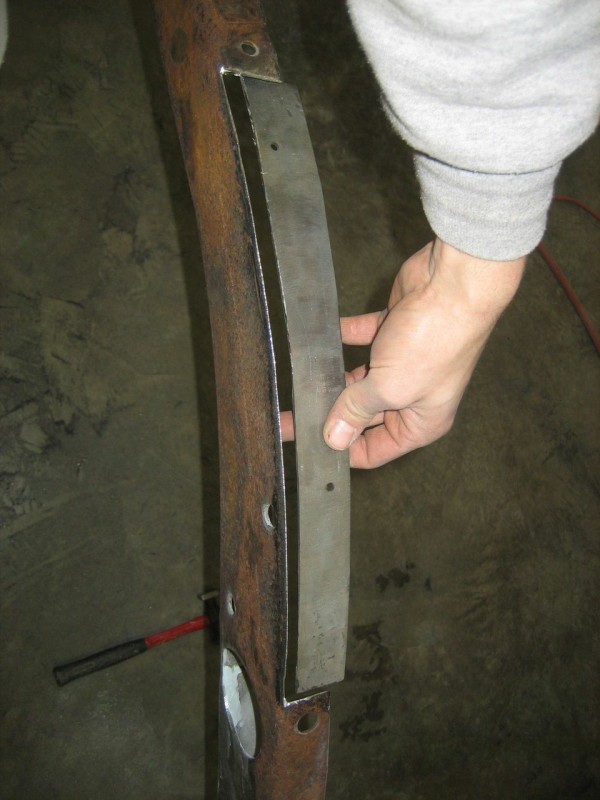
With the frame rails split apart it allowed us access to the backside of the frame rail and repair the frame properly.
There were a few areas on the frame that had been poorly repaired and this area was obviously cut out at onetime in its past lives for installation of duel exhaust.
So we cut it out and it was repaired.
There were also issues on the top side of the frame.
And they were cut out and also repaired.
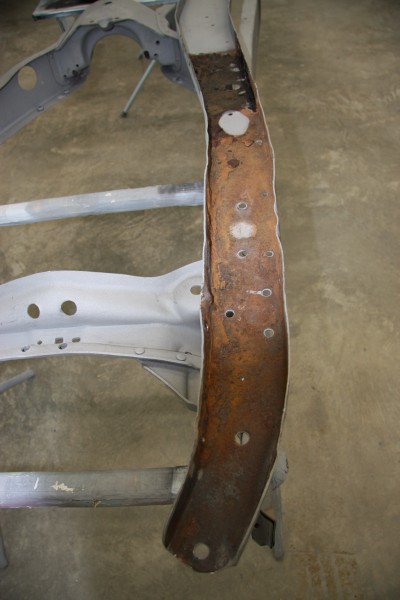
Here you can see the corrosion that we cut out from the top side of the rear frame.

And the repaired section is now looking as good as new.
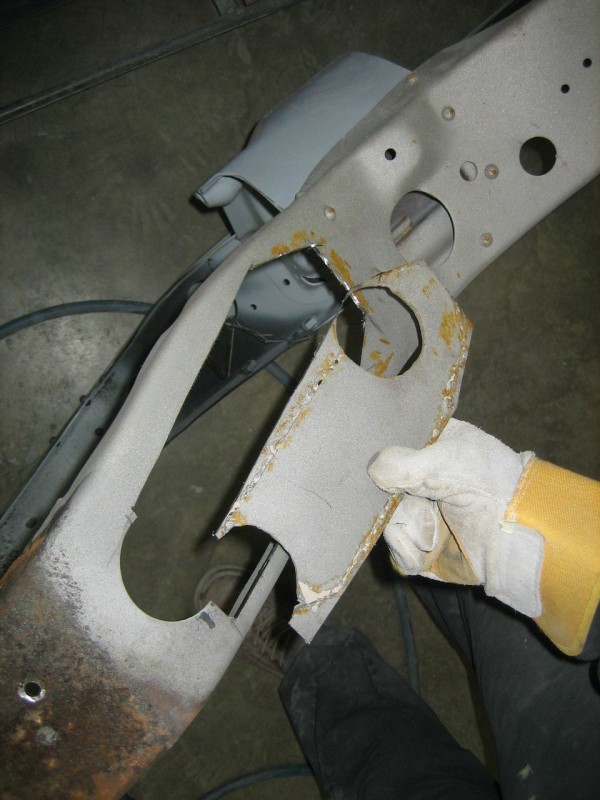
Here we are repairing the front frame horn drivers side top and bottom that had been poorly repair from previous collision damage at some point in the life of the car and it had been poorly repaired.
Bottom.
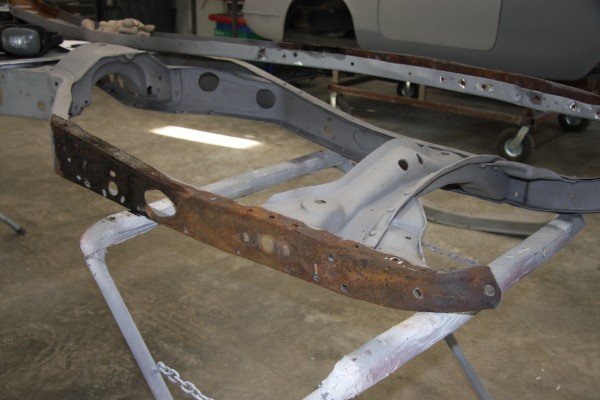
The frame is now right side up and if you look closely at the X member and forward, right under where the driver would sit, you will see a previously welded repair spot. This was probably cutout to accommodate the installation of dual exhaust at some point in the car’s 79 years of existence. It was very poorly repaired so it was replaced. Once it is painted you’ll be hard pressed to identify where the repair was made.

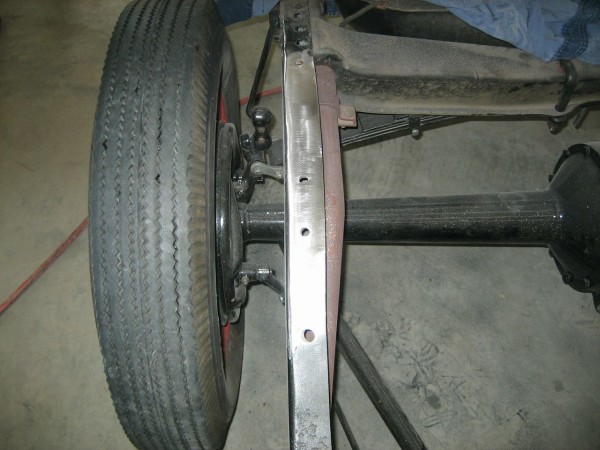
The bent rear cross member has been removed and when we checked the straightness of the overall frame it was right on spec and again the frame is upside down in the picture.
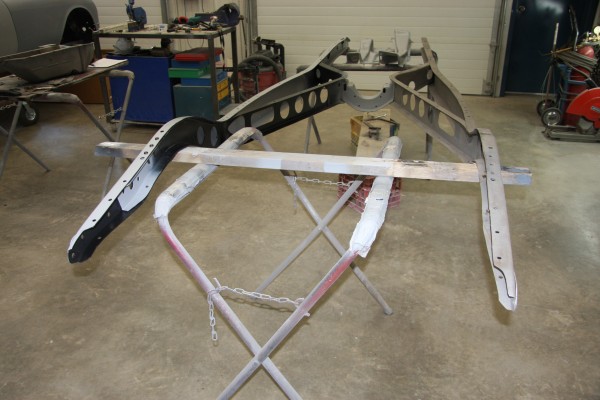
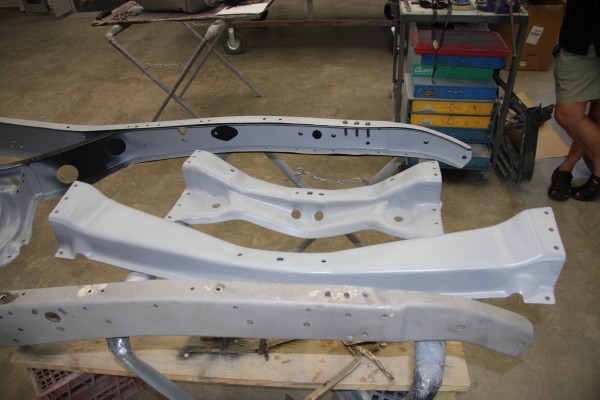
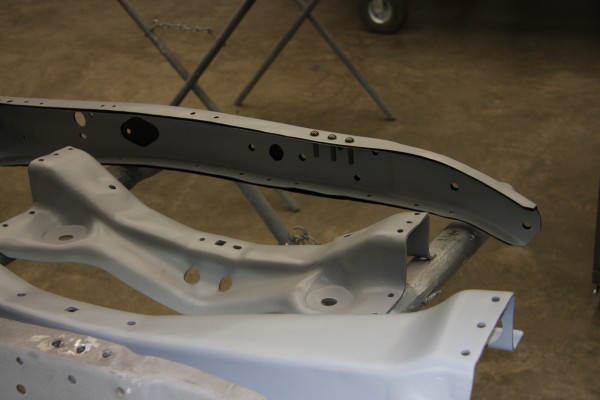
The front cross member required some minor repairs and the rear cross member was bent and had to be replaced. Fortunately I found another one on the H.A.M.B and as you can see from the photo its in excellent condition.
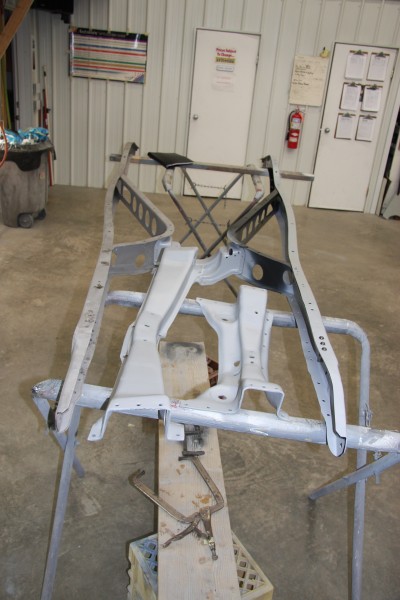
You can now see the repaired driver’s side front frame horn with 3 new rivets and they are ready to install the front frame cross member.
You can now see the new rivets in place prior to reassembling and re-riveting the inner, outer frame rails, front and rear frame cross members back into the frame. Fortunately these original style rivets are still available from Roy Nacewicz at Ford Bolts. I should also note that when they installed the new rivets they placed the nicely formed rivet head always to the exposed side of the frame and then it has that very original look. I must give an accolade to Roy Nacewicz he has been a most valuable resource and I very much appreciate the very frank and open discussions that we have had on restoring my 34 Roadster and I’m not done yet Roy! The beauty is that Roy has restored a 34 and has been their and done that many times over.
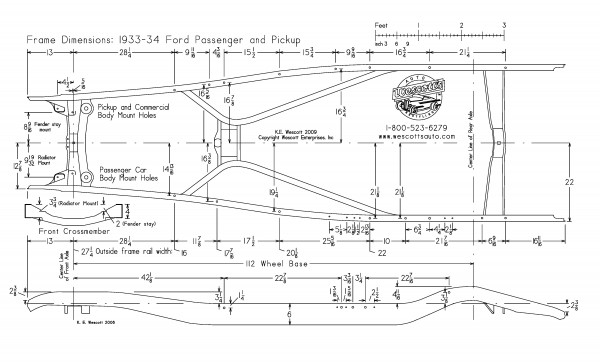
We utilizing Westcott Auto’s handy 1933 – 34 frame dimensional drawing, the frame is now right on spec which will make it much easier to mount and square the body to the frame. On the Westcott’s web page they have frame dimensional drawings for Fords from 1926 to 1940.