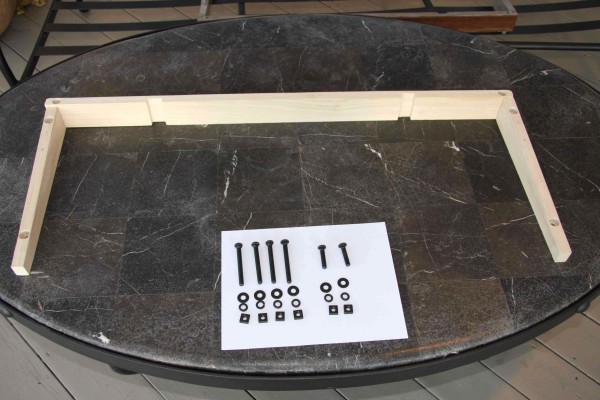
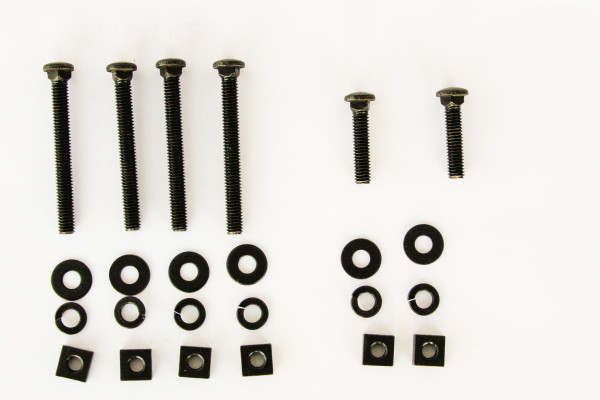
I bought the roadster seat riser wood made from birch and the correct seat riser carriage bolts from Roy Nacewicz at Ford Bolts.
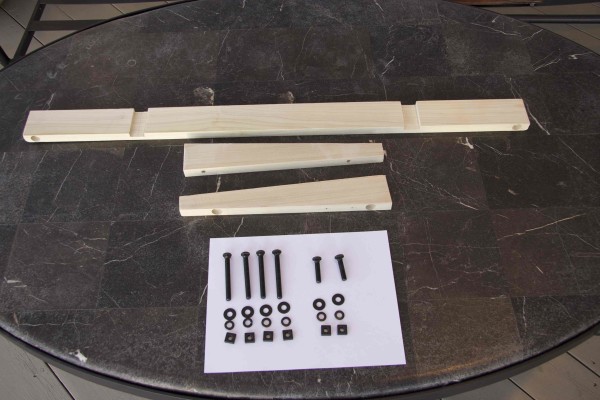
The 1934 Ford seat riser was originally painted black.
I bought the roadster seat riser wood made from birch and the correct seat riser carriage bolts from Roy Nacewicz at Ford Bolts.
The 1934 Ford seat riser was originally painted black.
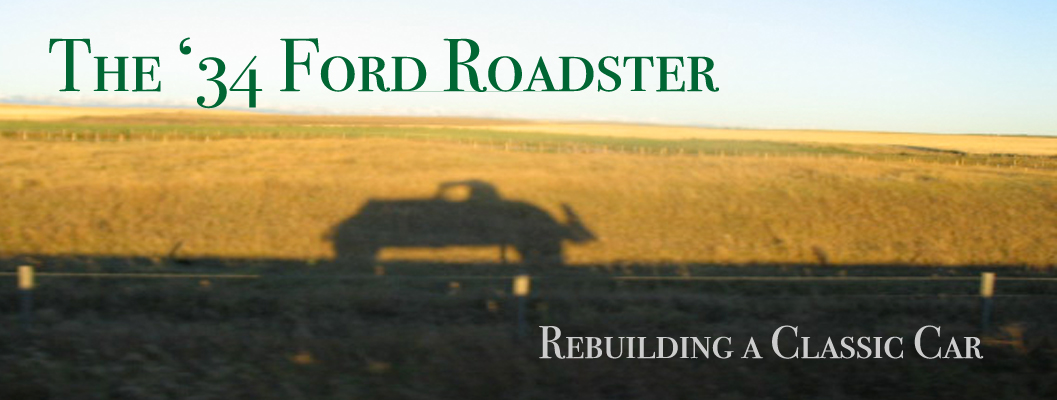
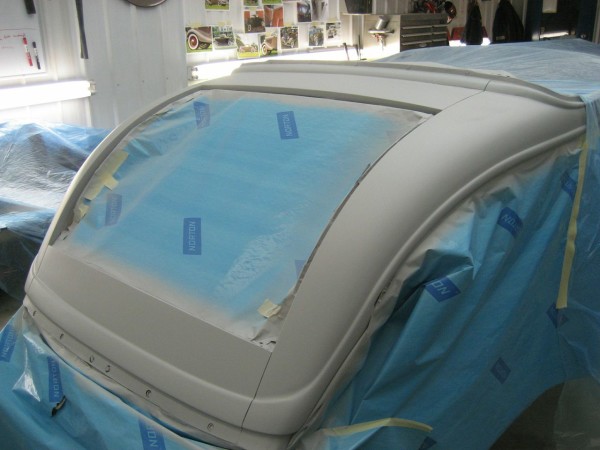
Once we were satisfied with the fit of the inner cowl wood it was removed and the inside of the cowl was sprayed with Dupont DTM Epoxy.

We then reinstalled the cowl wood for the final time. It won’t be removed again in my lifetime.
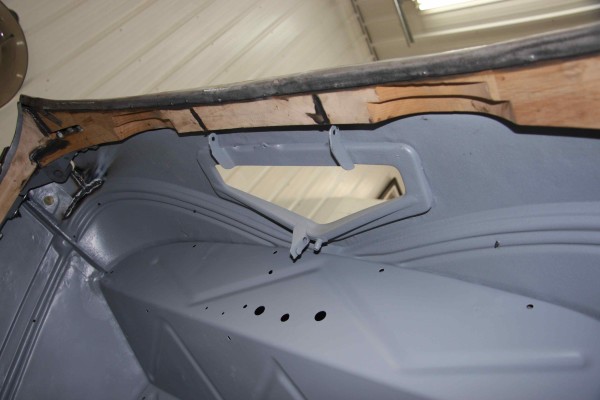
The overall fit of wood is just like the factory original. If your cowl wood integrity is compromised in any way it should be replaced.
Humidity is the enemy of wood, especially fitted wood and its a rare car that hasn’t seen its fair share of humidity. Wood can absorb moisture and expand, or dry out and contract. If you look back at my previous post “Fitting the 34 Roadster Cowl Wood” you’ll see just how badly the original wood had deteriorated over time.
Convertible cars are an engineering nightmare. By removing a car’s top, you compromise its structure and reduce its strength in virtually every plane. A convertible is a wet noodle, with vastly reduced torsional stiffness. When driving an older convertible, you can get the sense that the steering wheel and dashboard are moving in a different direction than yourself and unfortunately, they are. Known as “cowl shake” the flexible body phenomenon has plagued convertibles since Henry Ford started building them. Just drive your convertible over a set of railway tracks and watch the cowl movement where the cowl meets the top of the doors. The last thing you want is a suicide door to inadvertantly pop open!
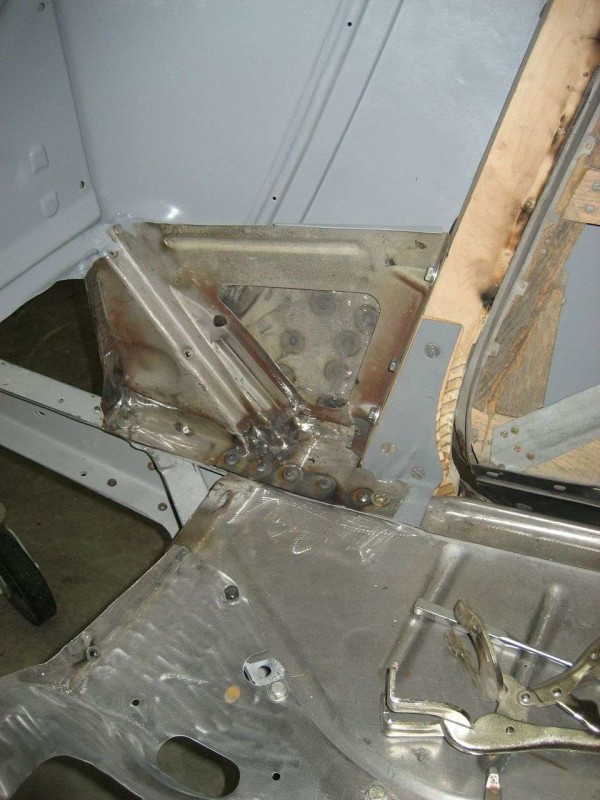
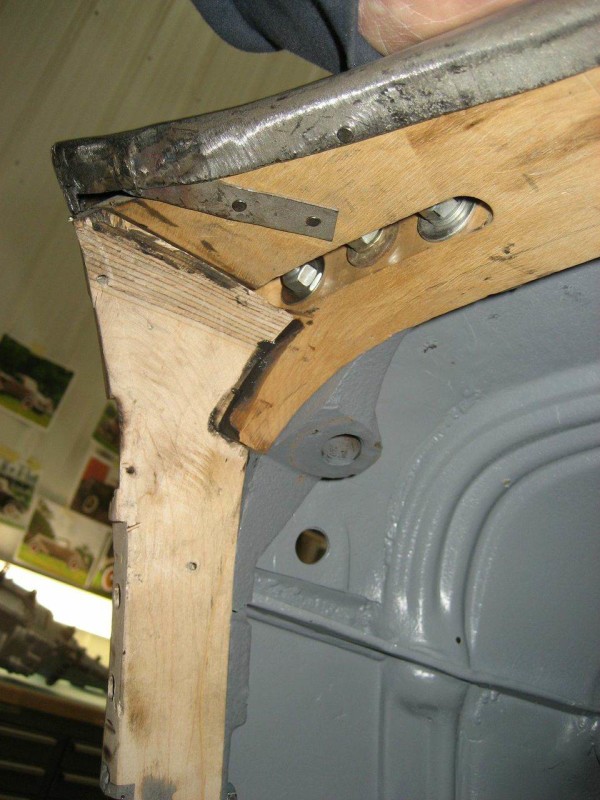
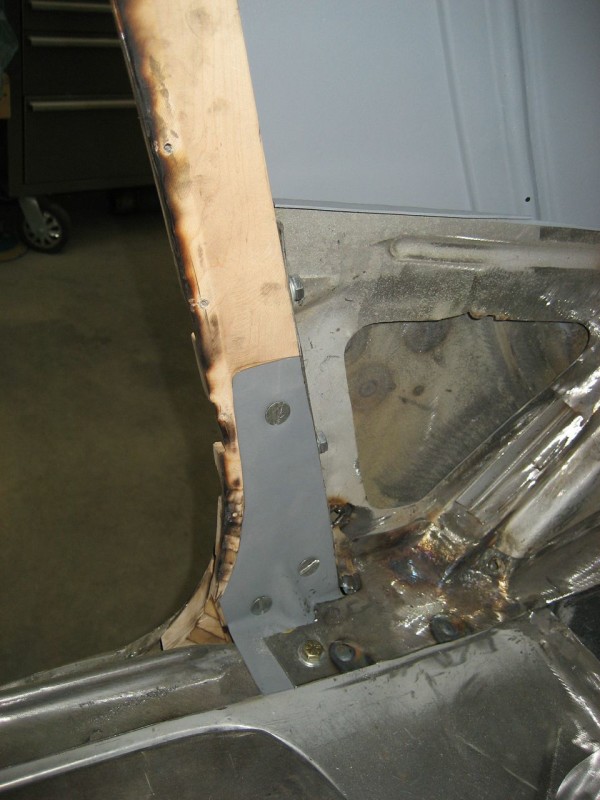
Again, if the wood isn’t perfect replace it! That includes repairing or replacing damaged Cowl A-pillars and L Brackets. Typically the L brackets are rusted out or damaged in some way and I’ve posted how to reproduce the L Bracket in a prior post “ED Solari’s 34 – Roadster Cowl A-Pillar L Bracket Templates” and these templates are to scale.
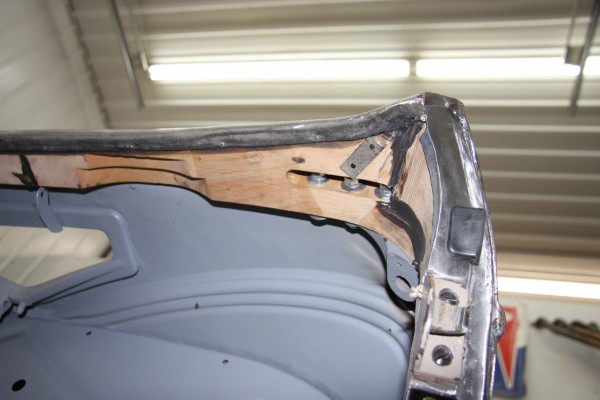
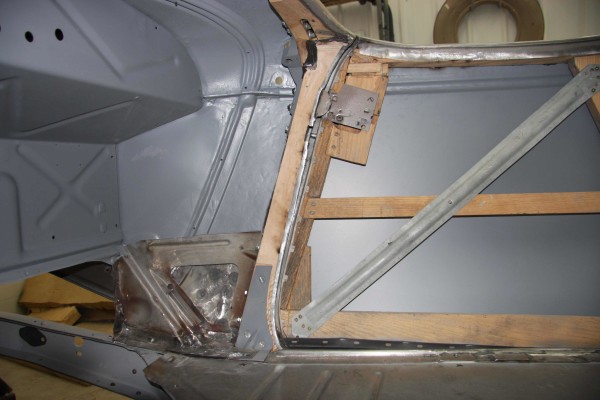
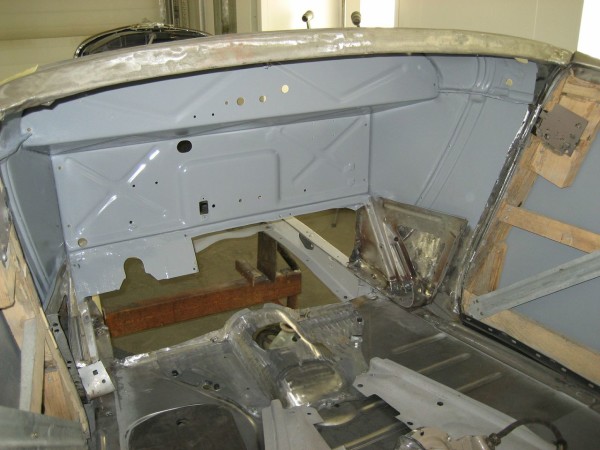
At the cowl A-pillars and L Brackets we sprayed Dupont DTM Epoxy primer in behind the cowl wood, but didn’t spray either A-pillars because they still need a little more work.

There is a metal tab that is nailed at both top corners of the cowl wood and I’ve seen a few cars where these tabs were missing. The rolled over metal edge of the cowl underside is also nailed intermittently along its entire length.
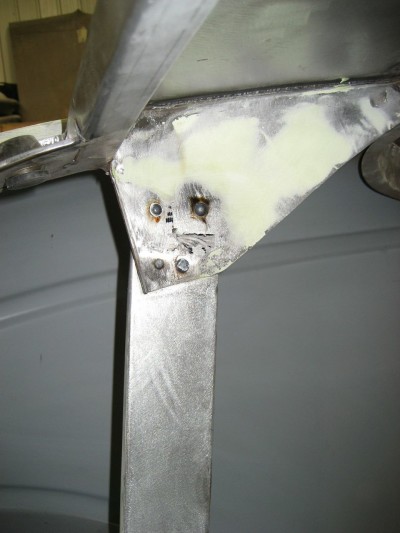
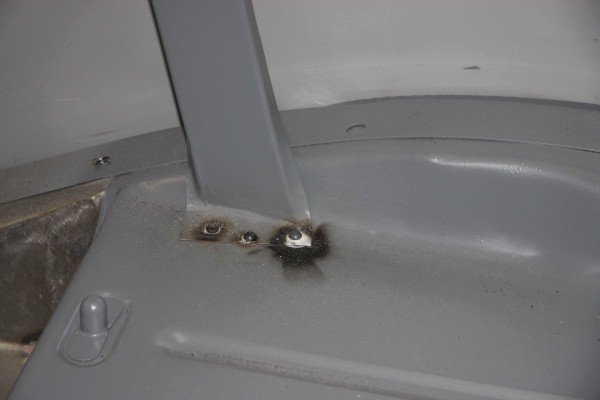
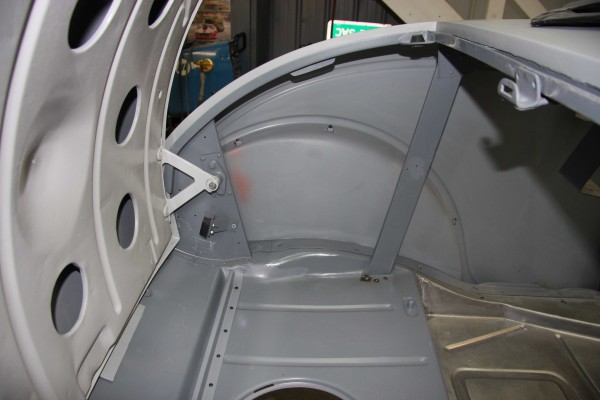
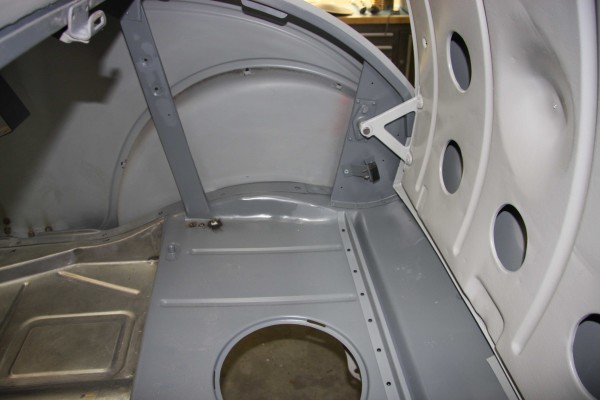
We recently riveted both rectangular rumble seat hinge spacers to the trunk rumble seat triangular gussets.
Clamping the rumble seat hinge spacers in place and then setting the rivets.
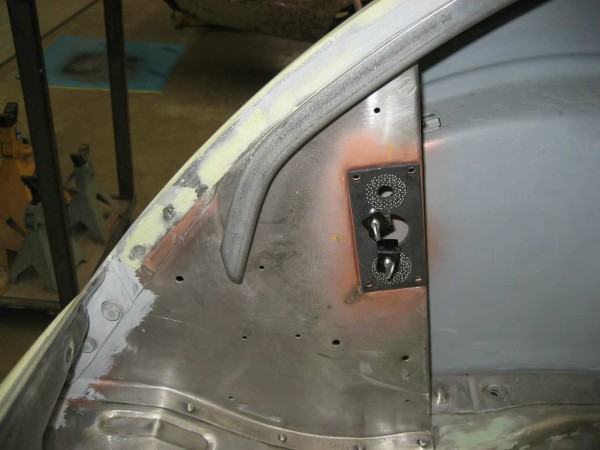
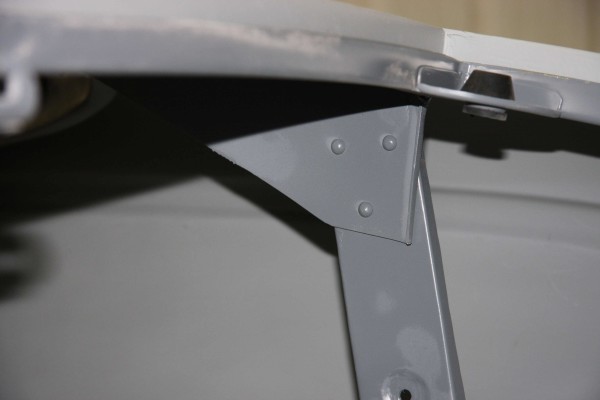
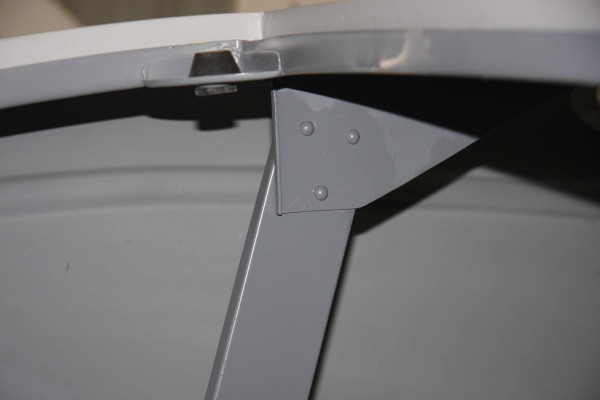
And of course the completed re-rivited rumble seat hinge spacer in place.
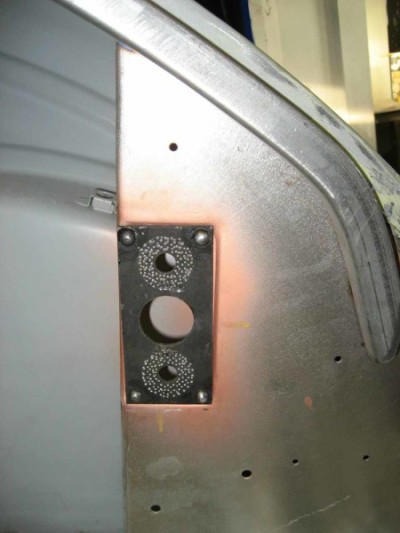
Here is an excellent photo of an original roadster with the spacer in place behind the rumble seat hinge pivot.
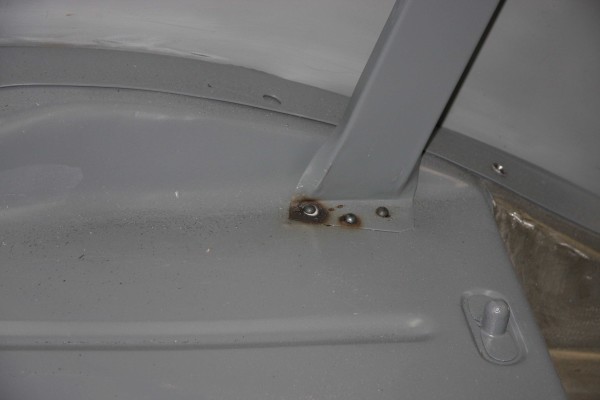
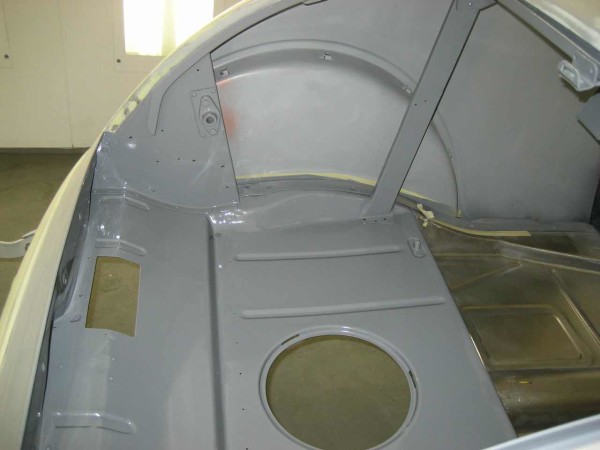
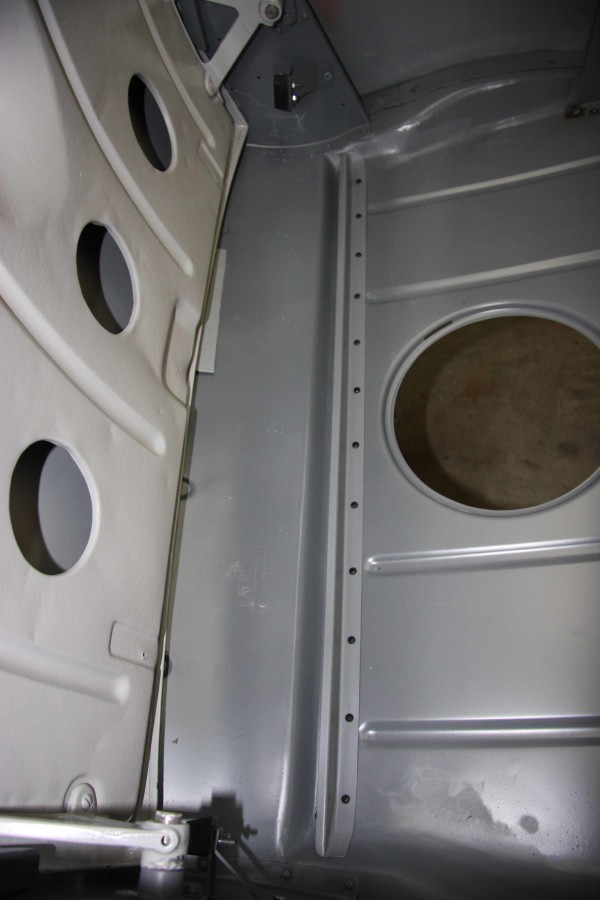
We also re-riveted both inner trunk braces at the underside of the panel above the deck lid.
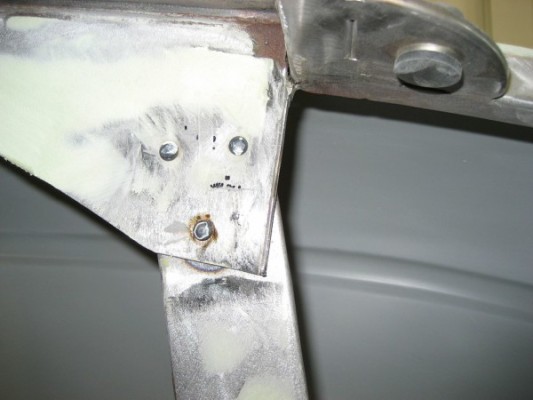
The completed upper trunk brace primed and almost ready for paint. I should point out that I bought the original style factory rivets, which are still available from Roy Nacewicz at Ford Bolts.
Both inner trunk braces re-riveted to the trunk floor pan.
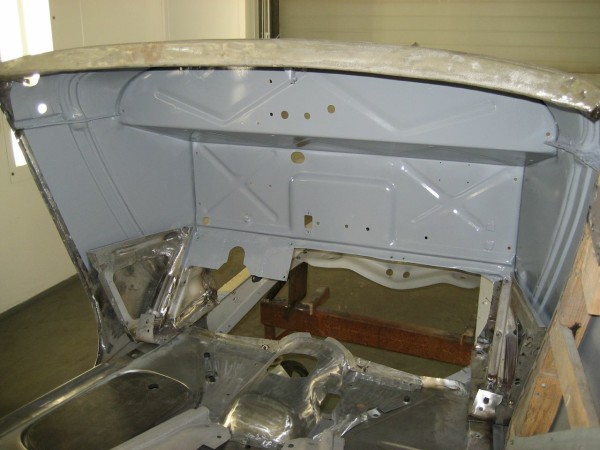
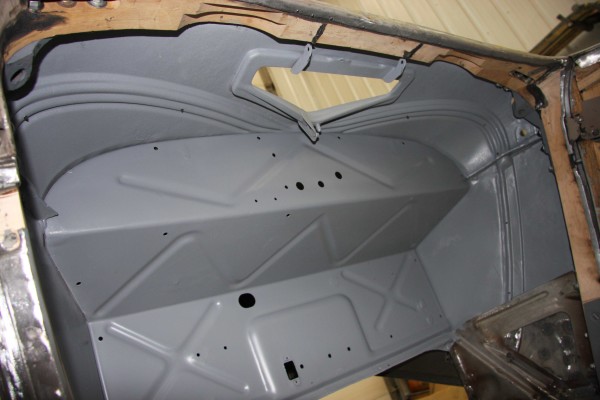
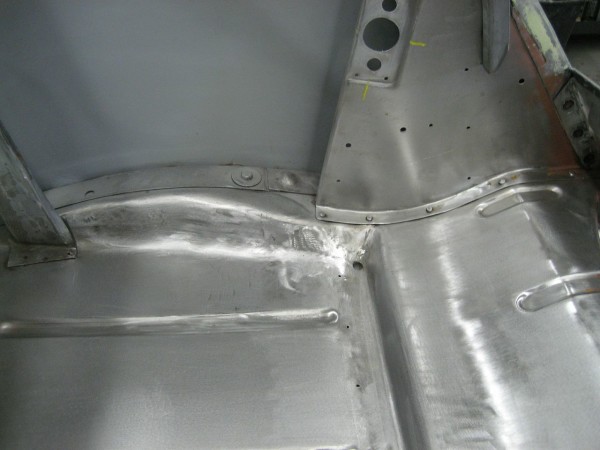
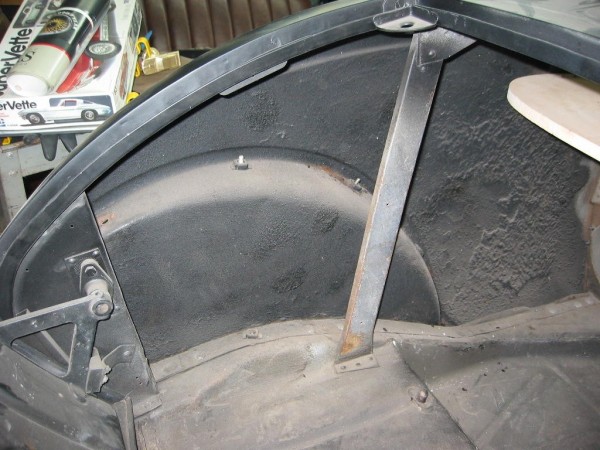
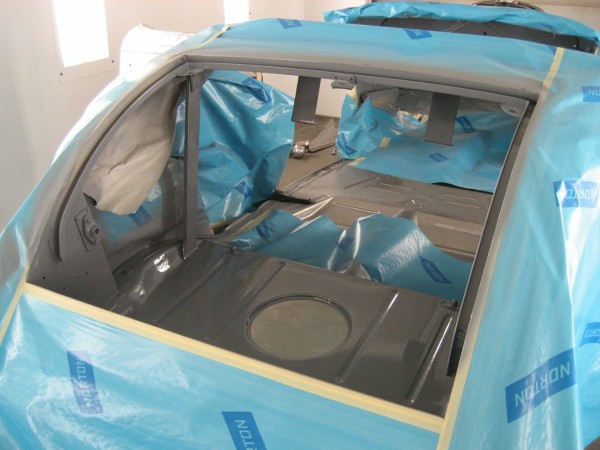
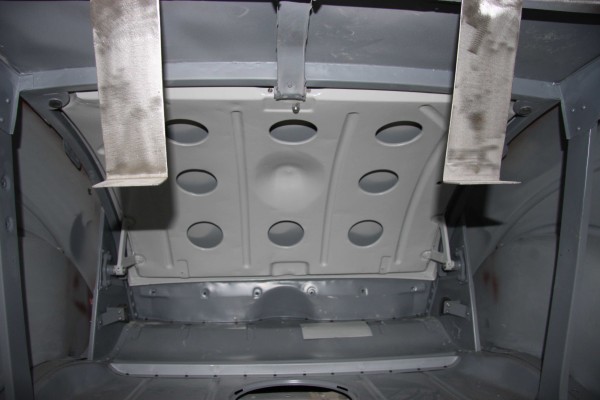
With the riveting complete we then sprayed the inside of the rumble seat area with Dupont DTM Epoxy primer.
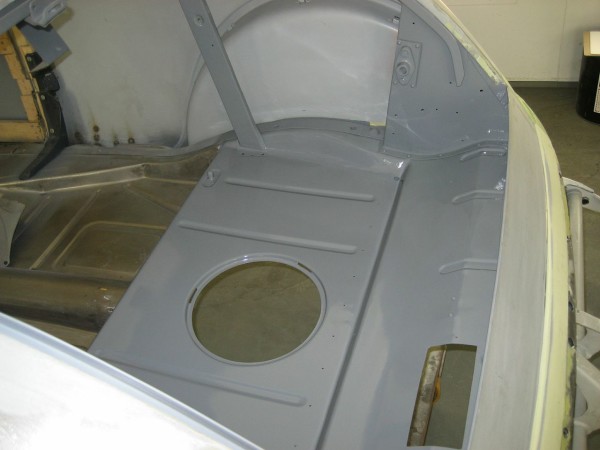
We reinstalled the rumble lid to recheck the fit with both rumble seat hinge spacers in place and installed the rumble seat water dam to the rumble seat floor pan.
Here is a better photo of the rumble seat water dam installed to the rumble seat floor pan.
A different perspective – looking from the inside of the car with the rumble lid closed.
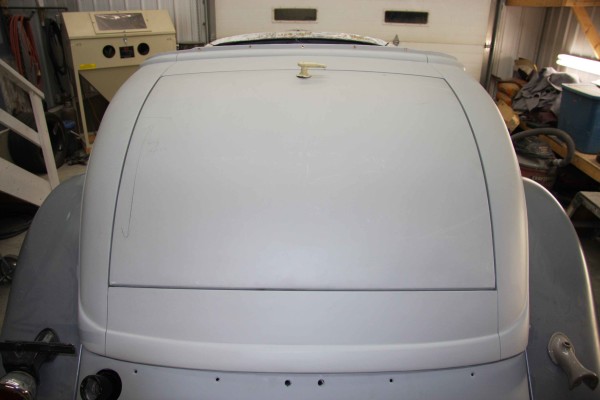
Once we were satisfied with the fit of the rumble lid the outside of the rear body was primed.
I’m now very happy with the all around fit of the rumble lid in the trunk opening the gaps are all very uniform.

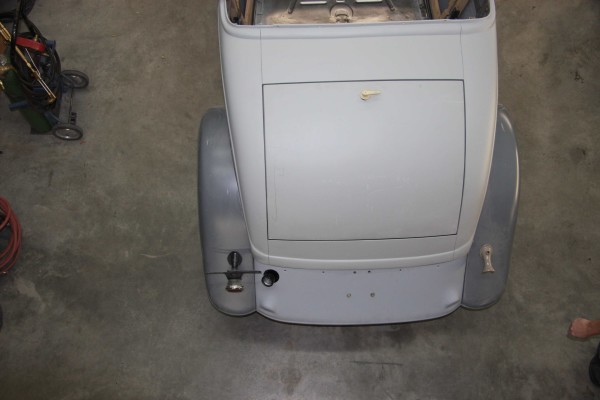
Well at least the back half of the ’34 is almost complete.
